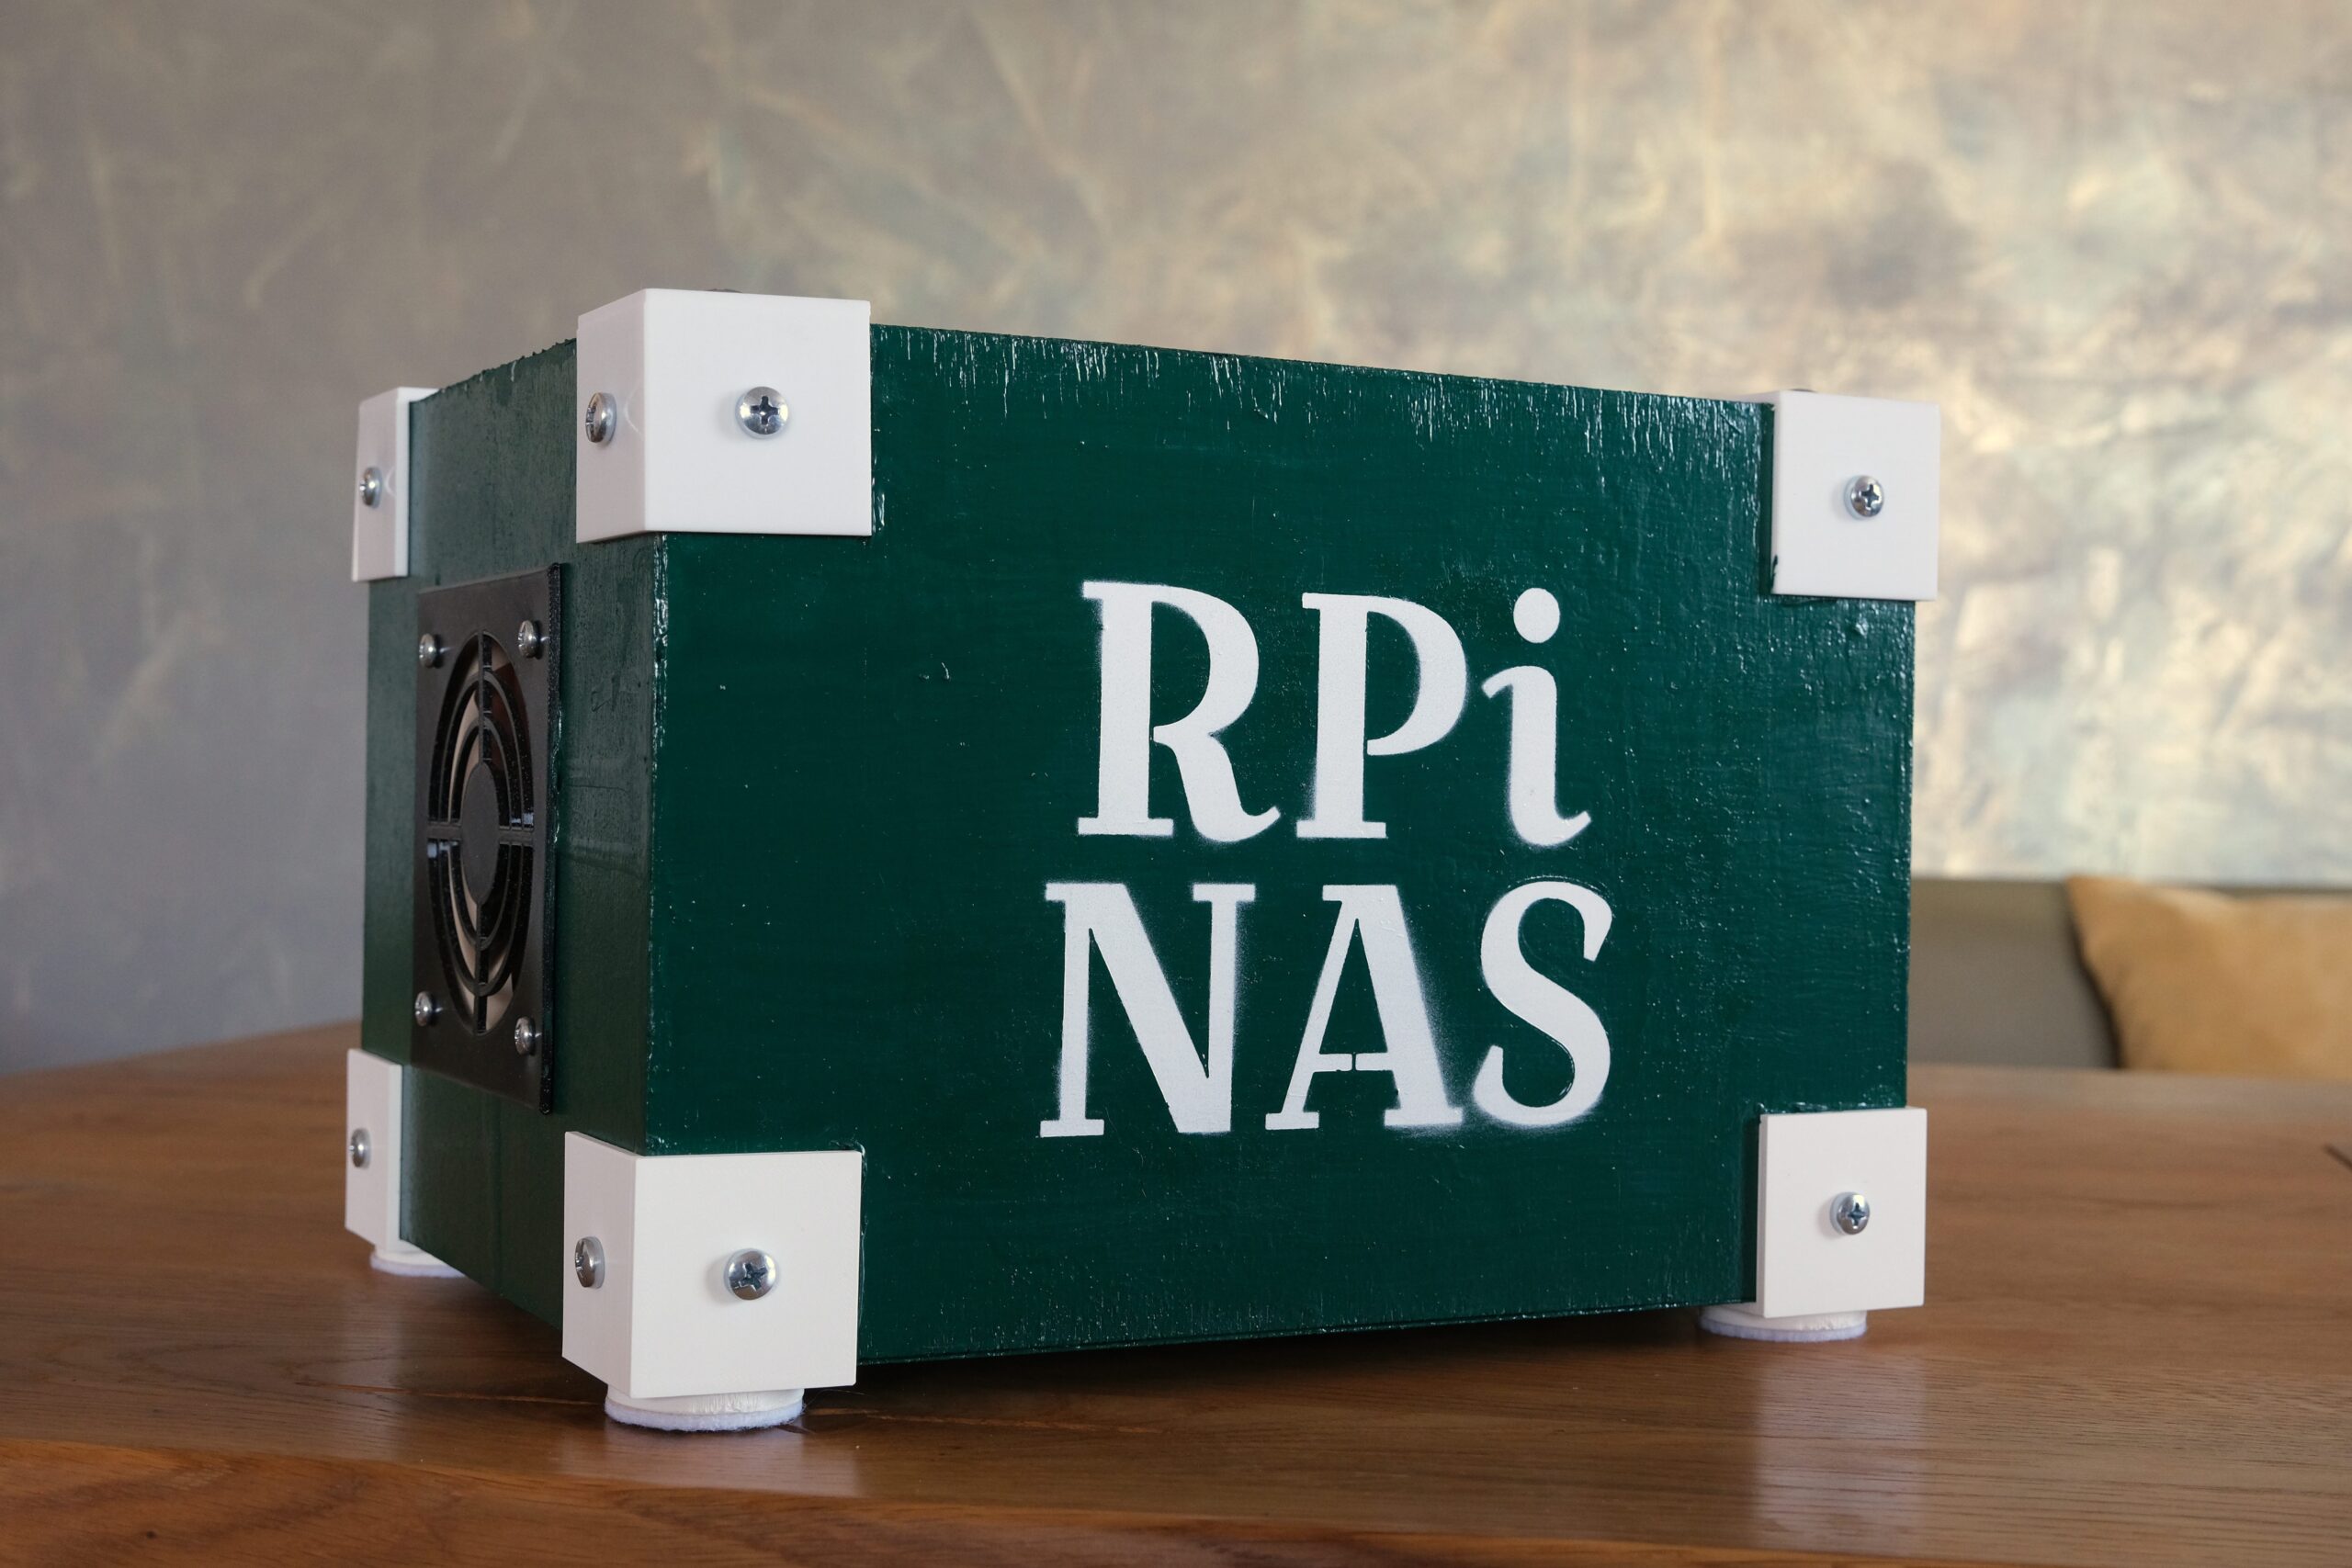
We’ve finished setting up our NAS but all the hardware is just laying around, which really doesn’t look very good. So let’s replace the loose hardware with a pretty case.
This post is part of a series about building a Network-Attached Storage (NAS) with redundancy using a Raspberry Pi (RPi). See here for a list of all posts in this series.
Have a look at the video for a (short) overview of how I built my case. I made heavy use of my 3d printer for this build but I’m sure you can find alternative parts if you don’t have access to a 3d printer. For example, DIY stores typically carry parts similar to the 3d printed connections at the corners (or you can glue it), you can buy fan shrouds and drive holders from electronics stores or online, etc. If you decide to build your own case, maybe share a picture of it on Instagram!
I hope you enjoy the video!
The codes for controlling the status light, power button and fan can be found under https://github.com/mpr-projects/RPi-NAS.

Leave a Reply