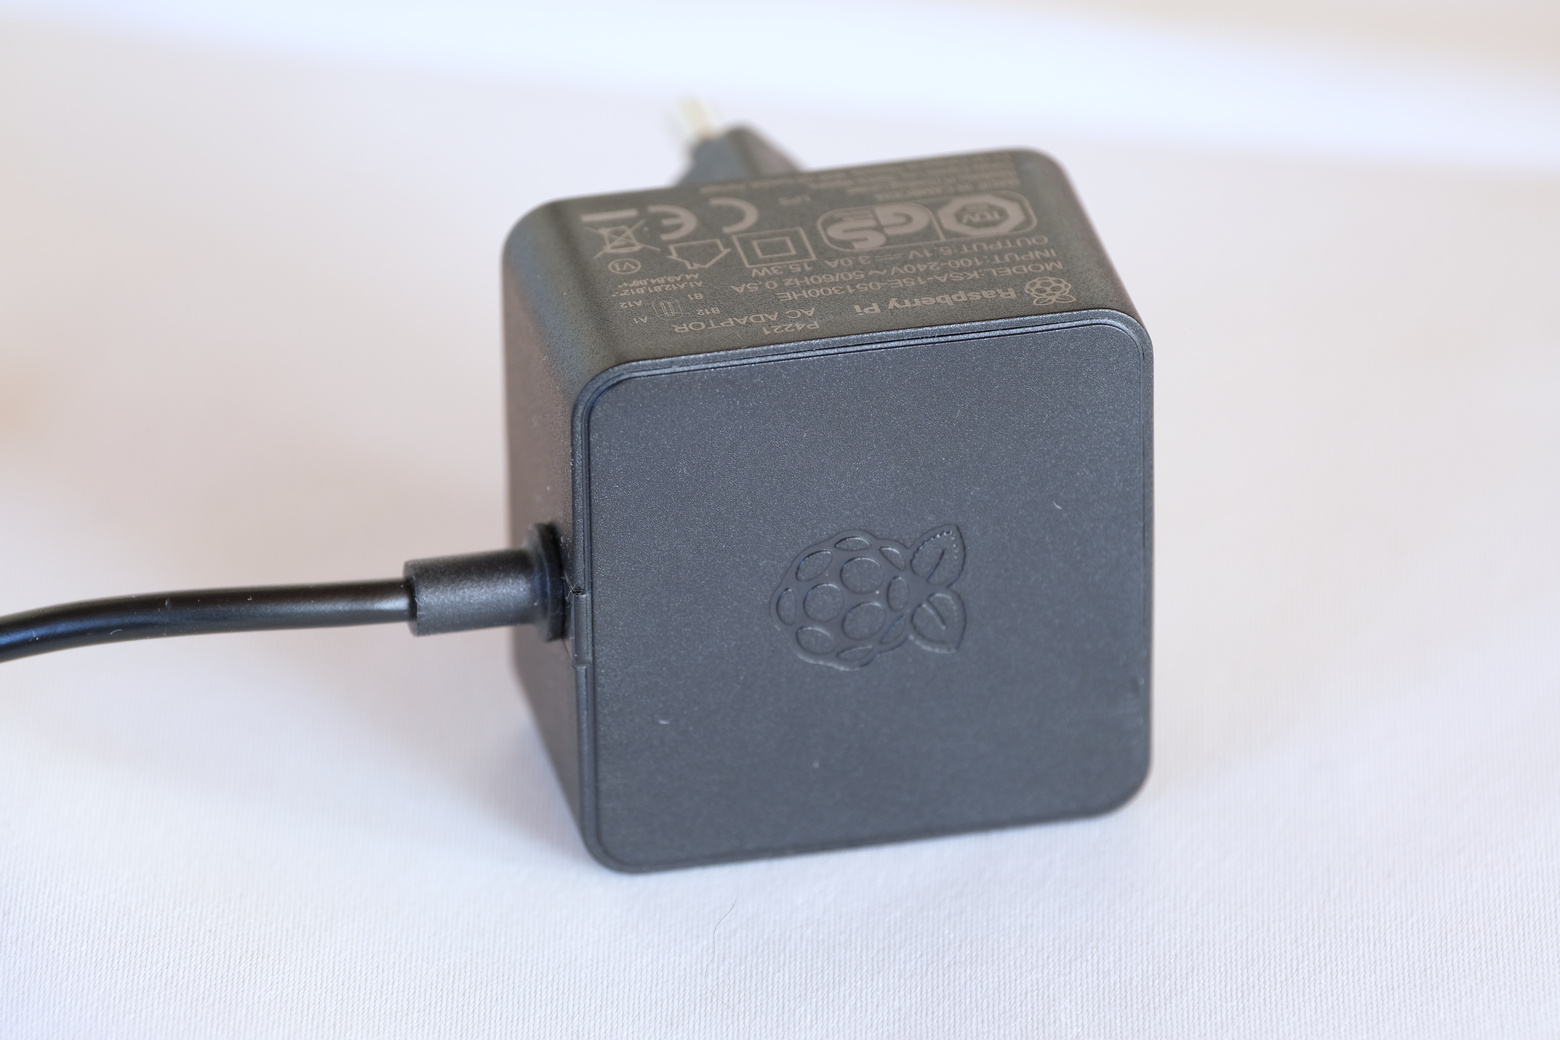
We’re almost done with our discussion about the hardware we’ll use for our NAS. In this post we’ll have a brief look at the power supply for the Raspberry Pi.
This post is part of a series about building a Network-Attached Storage (NAS) with redundancy using a Raspberry Pi (RPi). See here for a list of all posts in this series.
About Power Supplies
I’ve used an official Raspberry Pi power supply for all the tests we’ve done so far. Since our (powered) USB Hub has a few charging ports (which can’t be used for data transfers) it’s tempting to power the RPi from one of them. The advantage would be that there’s one less power plug we have to connect to the power outlet. We’d be left with just two plugs, one for the 3.5″ HDD and one for the USB Hub1.
So why would the power supply make a difference?
It has to do with the current and voltage the PSU can supply. The official Rasbperry Pi PSU can provide up to 3A @ 5.1V = 15.3W. That means that if the current drawn by the Raspberry Pi (and by all the devices powered by the RPi) is below or equal to 3A then the PSU will provide the required current at 5.1V. At that point the PSU operates in constant voltage mode. Now let’s assume that the RPi wants to draw more than 3A of current, for example 4A. The required power would then be 4A @ 5.1V = 20.4W. This is more than the PSU can supply. The PSU deals with that situation by reducing the voltage, in the example to (roughly) 3.825V (4A @ 3.825V = 15.3W). At that point the PSU operates in constant current mode.
That can be a problem because the RPi requires a certain voltage to function correctly. If the voltage drops by too much then the RPi may cut out and potentially lose data.
The RPi doesn’t actually need 5.1V. When I did some brief and rough tests the system was also stable at 4.8V2. So why does the official power supply provide 5.1V? I think it’s mostly for stability, i.e. to provide a buffer for temporary current spikes.
Talking about current, how much current does the RPi need? According to the specification it wants 3A. If USB peripherals consume less than 500mA then 2.5A is sufficient. In the specific setup we’ve chosen for our NAS all 2.5″ HDDs are connected via a powered USB hub and the 3.5″ HDD is self-powered. So no device connected to the RPi draws current from it.
The USB Hub we picked earlier is rated for 5V so there is a little less protection against current spikes. The description of the USB Hub says that the two charging ports can provide a maximum of 2.4A each. That’s a little below the 2.5A mentioned in the specifications of the RPi 4b. However, since we’re drawing no current from the RPi we may still get away with it.
Let’s do some tests to find out if the RPi powered by the USB Hub is stable and provides the same performance as before.
Tests
We’ll do the same tests as in the previous post. In the first scenario we copy one 24.1GB file to the NAS. In the second scenario we copy a folder with photographs, totaling 17.5GB. The scripts used for copying data can be found here. Both scenarios are run twice, once with the RPi powered by the official power supply, once powered by the USB Hub.
These tests were run on a different day than those in the previous post. Again, the setup was slightly different, there was virtually no network activity other than these tests. So the speeds reported here are a bit higher than what we saw in the previous post.
| Power Supply | Scenario 1 Speed in MB/s | Scenario 2 Speed in MB/s |
|---|---|---|
| Official Power Supply | 112.39 | 86.22 |
| USB Hub | 104.04 | 88.04 |
In the first scenario (one large sequential copy) the official PSU seems to perform a bit better. The transfer speeds of the second scenario are quite similar. I wouldn’t read too much into the difference of 2MB/s though as that can easily be due to the specific conditions when the tests were run.
Booting
Most current is drawn from the USB Hub during boot when all hard drives spin up. Even though the USB Hub I picked should provide sufficient power (24W) to satisfy the power requirements of all devices during boot (see post 4), I noticed that the boot process doesn’t always work smoothly when the RPi is powered by the USB Hub. Sometimes some of the drives don’t spin up correctly (they’re ‘skipping’) which is not good for the health of the drives.
Decision Time
The ‘skipping’ issue during the boot process is quite important because it can severely increase the risk of hard drive failures. Also, using the official power supply seems to be a bit faster. So I’ll be sticking to the official power supply.
Footnotes:
- To be perfectly honest, for me an extra plug is not a big deal. However, it’s a good opportunity to discuss a few more interesting points about voltage and current :). ↩︎
- Have a look at this question on stack exchange to get a little more information on the subject. I didn’t look deeper into it. It didn’t seem necessary because both the official PSU and the USB Hub provide voltages close to 5V. ↩︎

Leave a Reply