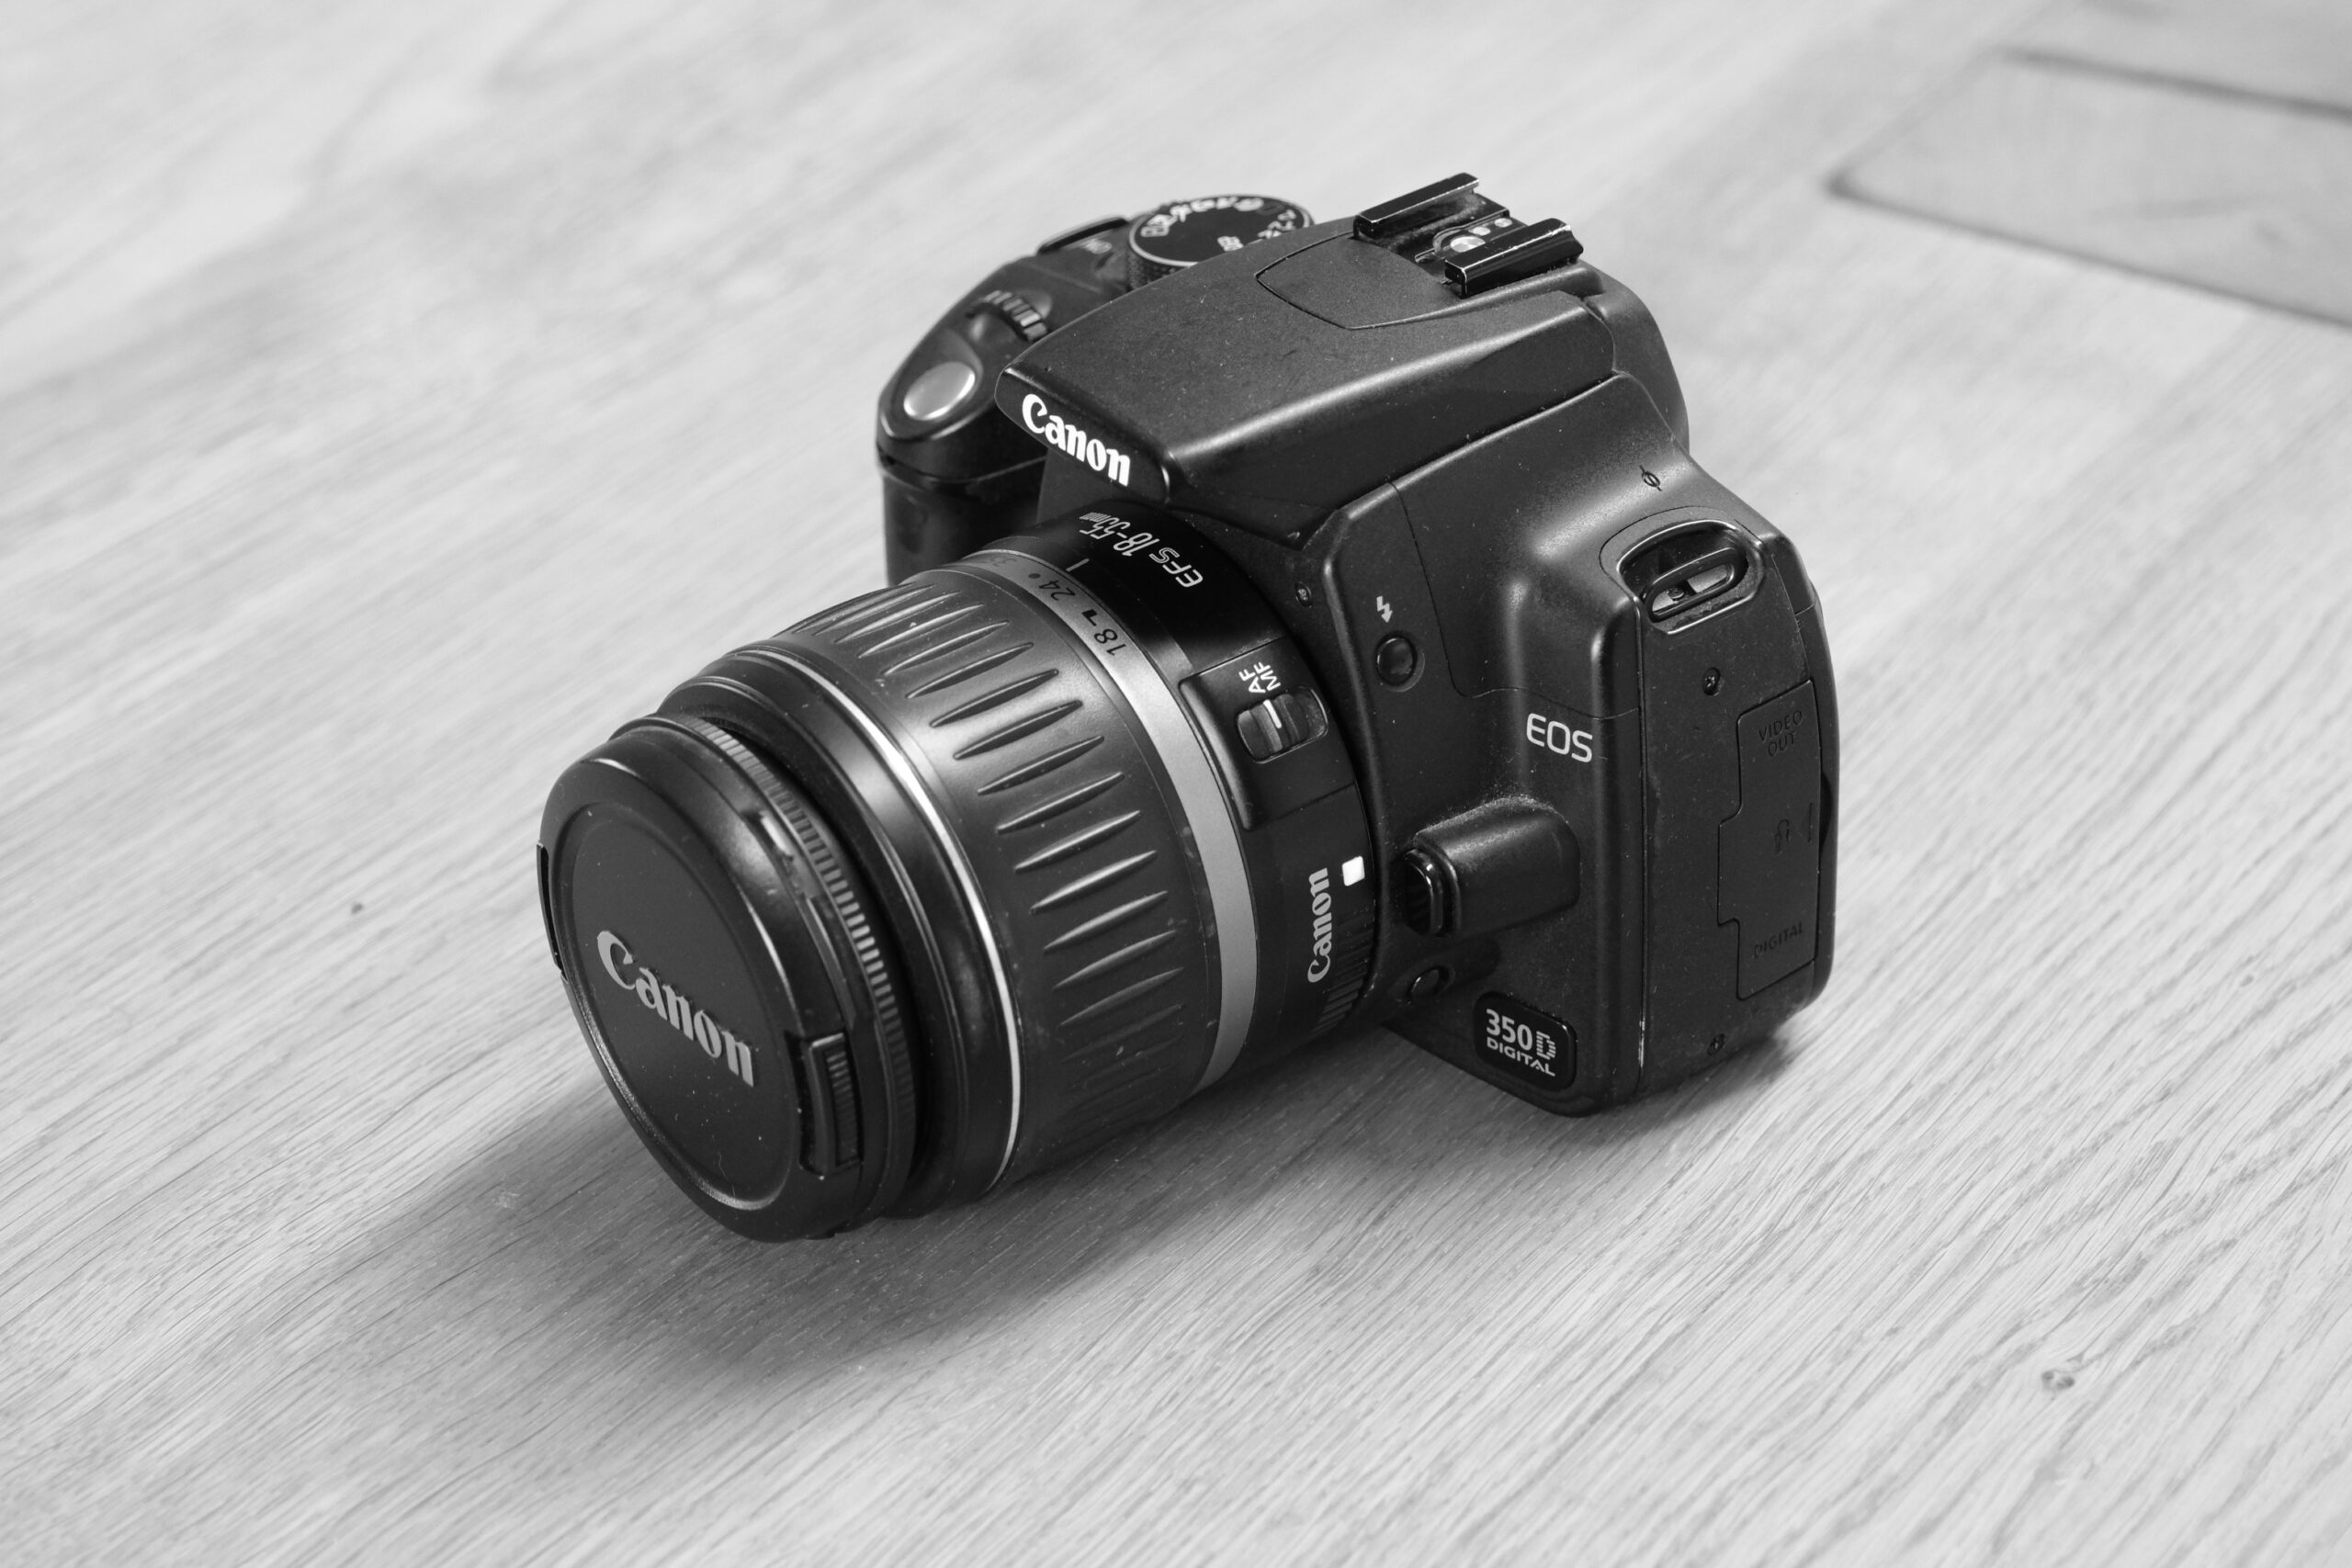
In this video we disassemble a Canon 350D and we remove the top layer of the sensor, which includes the colour filter array. As a result we’ll end up with a monochrome camera. We also discuss auto focus calibration and a few related topics.
I’d like this website to be mostly about the physics, engineering and history of photography. In an upcoming series of posts we’ll talk about (what I call) the photography pipeline. In that series we’ll cover a large range of topics, starting at light, moving on to lenses, sensors, in-camera processing, etc, going all the way to showing images on screen or on print. For one of the first topics, light, I want to use a spectrometer, which, of course, we’ll build ourselves. The monochrome camera we’re converting in this video will form a central component of that spectrometer (at least that’s the plan).
I still have the (almost) full recordings from when I first disassembled the camera. If I went too fast for you in the video, let me know. If there’s enough interest then I’ll upload the videos that show the entire process (without narration).
Additional Images
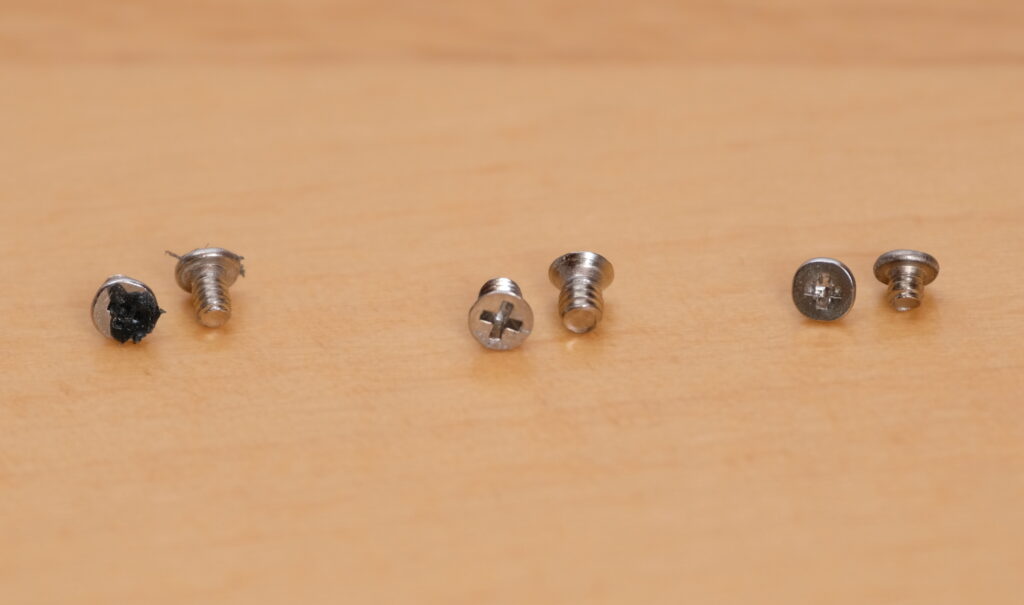
Here are a couple of additional images for your (and my) reference. The first one shows the screws that hold the circuit board in place. They relate to time 06:57 in the video.

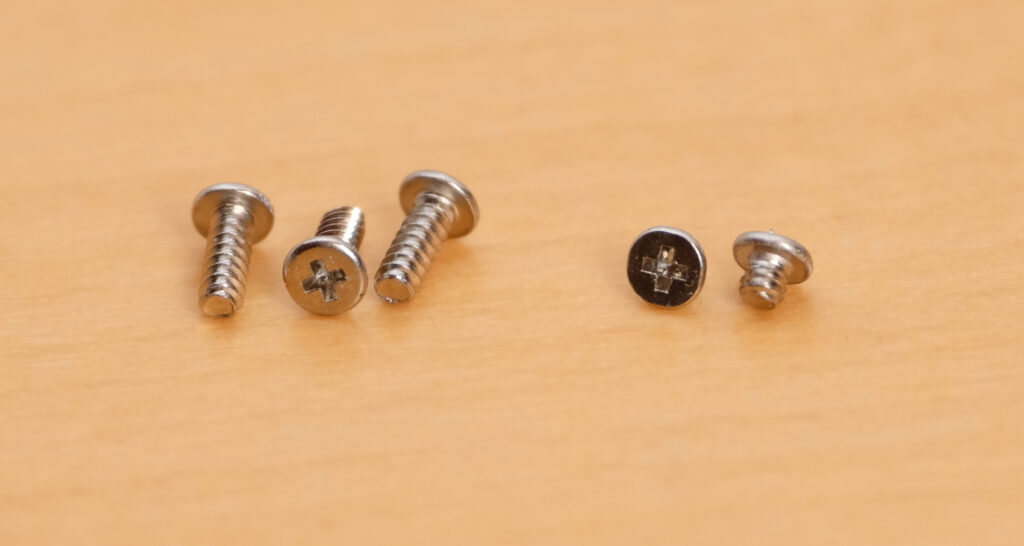
The second image shows the screws that are used to attach the sensor to the second circuit board. They relate to time 07:25 in the video.

References
In this video of Les’ Lab, they use a laser to burn off the top layer of the sensor. The two infrared images shown in the video can be found on flickr and on rawpixel.

Leave a Reply