In this series of posts we’ll use a Raspberry Pi to build a simple, fast and affordable network-attached storage (NAS) that’s suitable for home use. Multiple copies of our data will be saved so nothing is lost when a hard drive fails. On the way we’ll also look at various important and interesting topics that affect our choice of hardware and software and you’ll get all the information you need (and more) to plan your own system.
If you’ve ever lost data due to a hard drive failure then you know how important it is to have backups. If you haven’t then let’s make sure it stays like that. One option is to build a NAS with data redundancy1. There are lots of ways in which we could build such a NAS. The one we’ll build here is most (but not only) suitable if
- you already have some hard drives that you want to reuse (and they are not identical but of different sizes),
- you want your data to be stored on multiple drives to protect against hard drive failures,
- you want your NAS to be easy to set up and, more importantly, easy to maintain,
- you want to (or have to) support Windows or a mix of different operating systems,
- you want to be able to easily expand the capacity of your NAS, and
- your NAS is intended for home-use with a small-ish number of users.
These criteria are derived from my own situation but I expect them to be quite common. Below we’ll look at a few of them in more detail.
NAS Characteristics
Let’s start by discussing some important characteristics of this NAS so you can better decide if it suits your purpose.
The NAS is intended for a home user who wants a system that is easy to use and maintain. The user has a general interest in computers but doesn’t want to (or have the time to) go deeper into ‘advanced’ filesystems like ZFS. They want to use hardware that’s easy to obtain and that only requires simple connections (USB and Ethernet, no PCI, no soldering, …). The user also wants to reuse their existing hard drives2.
These criteria put quite a restriction on what we can do. Since we’re going to use hard drives with different sizes we can’t use a RAID3. Since we’re not using modern file systems like ZFS (or Btrfs4) we can’t use their built in abilities for data redundancy, storage pooling, protection against data corruption, etc.
As a result our NAS won’t be as good at protecting us against data loss as some of the more advanced options. Specifically, the NAS
- will protect us against the failure of one or more hard drives5 and it
- will allow us to regularly check for data corruption6 but it
- won’t automatically find and correct data corruption during all operations (as, for example, happens in ZFS).
What that means is that there is a chance that some of our files get corrupted over time. However, that risk should be small if we regularly check for (and if possible correct) data corruption — which we will do.
Since we want to support a mix of different operating systems (including Windows) we’ll be using Samba shares to access data on the server7. Samba doesn’t provide for data redundancy by itself so we’ll use a software called Greyhole. For each Samba share you can decide if you want Greyhole to be enabled or not. On shares for which Greyhole is enabled, Greyhole will copy files from the Samba share to one or more hard drives (you can specify how many copies should be saved). The original file on the Samba share is then replaced by a symbolic link to one of the newly copied files.
This process of copying data represents a non-negligible overhead. Therefore, Greyhole is not suitable for storing a large number of tiny files, like in an operating system backup8 (it’s better to use a dedicated software for system backups anyway). It’s also not suitable for files that get constantly updated (e.g. BitTorrents9). See here for more details about why those shouldn’t go into Greyhole shares. These restrictions are not prohibitive, though. For example, if we need to store many small files then we can put them into an archive (e.g. zip or tar) and save the single archive on the NAS. We can also add Samba shares for which Greyhole is not enabled. Those shares won’t provide any redundancy but they can be used, for example, as temporary storage for files that are currently being downloaded.
Note, we’re not going to enable access via the internet (although you can probably figure out how to do it using, for example, sshfs).
One last word (or paragraph). Even though I have a decent knowledge of Btrfs and ZFS I chose the setup described here because it’s so much easier to maintain. I prefer the small risk that a few files may get corrupted over time to the additional time and effort it takes to set up and maintain a more complicated system.
About NAS Maintenance
Let me briefly reiterate why I prefer a system that’s easy to maintain because I think that’s a really important point.
We could, for example, use a filesystem like ZFS for our NAS10. ZFS has many great features. However, ZFS is complicated and it takes quite a bit of time to understand how it works (even if you’re good with computers). So one consequence of using ZFS is that it will take longer to set up our NAS. More importantly, though, if we don’t deal with ZFS on a regular basis (which is probably true for most of us) then we’ll forget how it works11. Imagine after six months something goes wrong and we need to fix it (in my experience with computers, at some point something will go wrong). Before we can fix it, and maybe even before we can access our data again, we have to reacquaint ourselves with ZFS (which takes time and can be quite stressful if you really need access to the NAS).
Thus, I think an average, non-professional, (power) user is best served by a NAS that uses simple software, which is easy to fix if something goes wrong and which always allows us to access our data.
About Home-Use
I wrote above that the NAS is intended for home-use. Let me briefly specify what I mean. I’m writing this in December 2023 and right now it’s pretty standard for home networks to support 1G Ethernet and 5GHz WiFi. Larger companies would use 10G (or 40G or even 100G) Ethernet but that’s not typically found in home networks. So when planning this NAS I chose hardware that accommodates the speeds of 1G Ethernet and 5GHz WiFi.
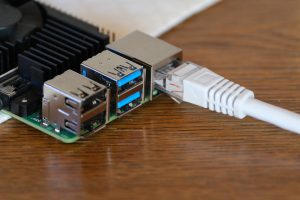
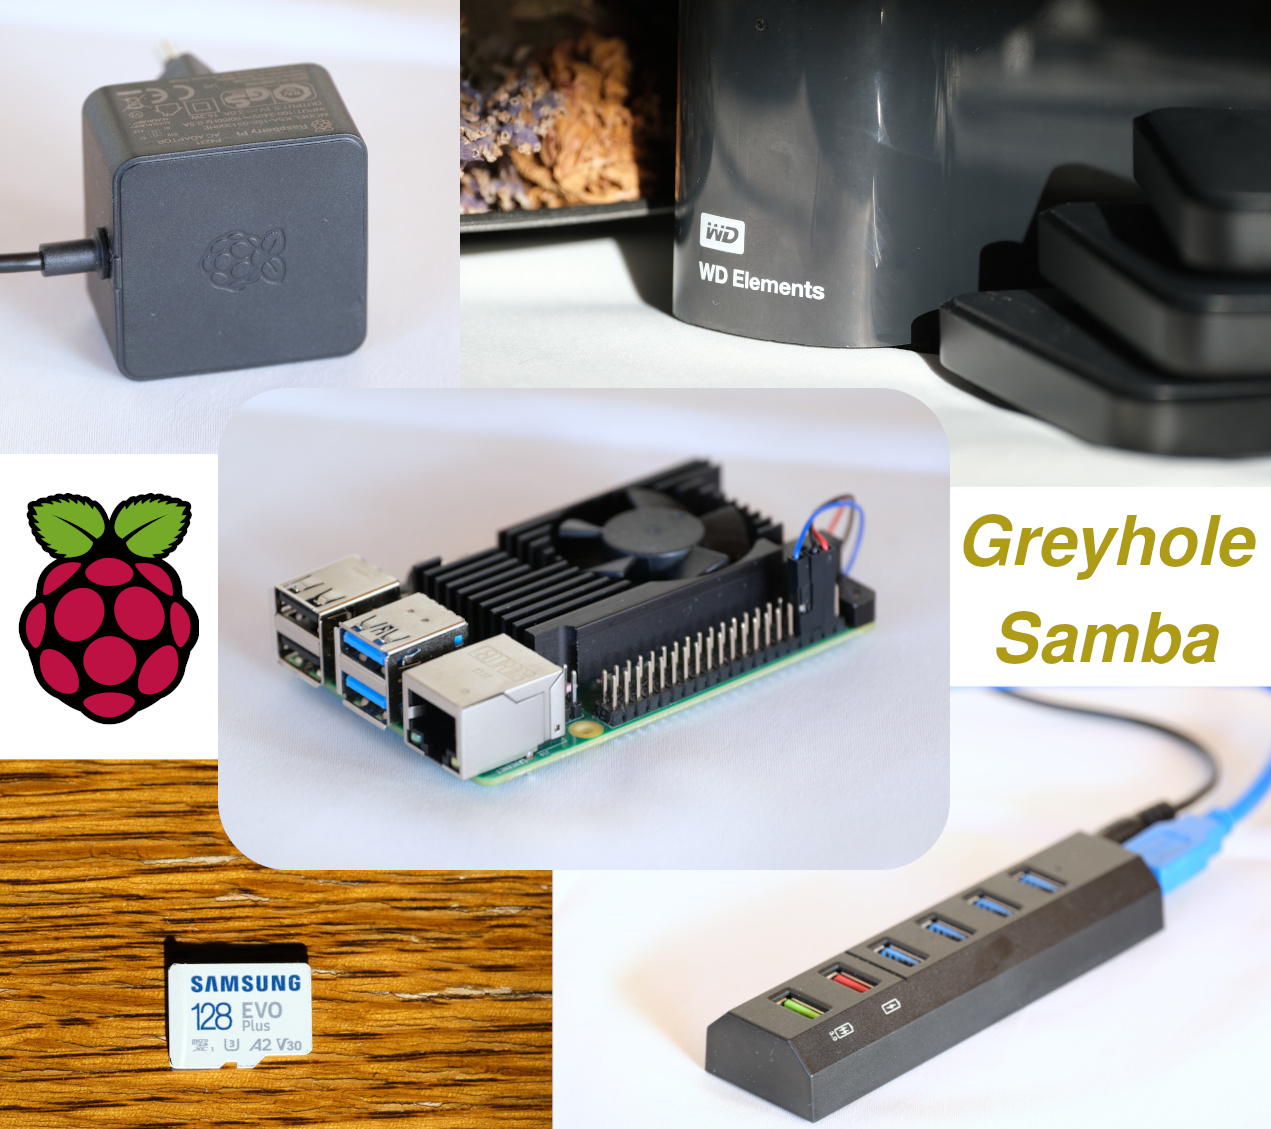
We’ll discuss the hardware separately a bit later but as the title of this post says, our server will be a Raspberry Pi. I’m using a Raspberry Pi 4b with four 1.8GHz CPUs and 8GB RAM. Its network card supports 1G Ethernet. So if you have a faster network, e.g. a 10G router, then this NAS won’t be able to take advantage of it (although you could use the same software setup on better hardware).
I also wrote above that there should be a small-ish number of users. Unfortunately I can only give an anecdote regarding the number of users the NAS can deal with (I haven’t been able to do any thorough tests because there’s only a handful of users in my household12). As a brief test I tried streaming 11 videos from the NAS at the same time (mostly HD, some FHD, one 4k) on four different devices, which worked without problems. According to htop none of the Raspberry Pi’s four CPUs had a usage over ~8% and approximately 600MB RAM was used13.

htop output when streaming 11 videos from the NAS.So at least for this specific load the hardware of the Raspberry Pi is not a limiting factor. The network is also not an issue because streaming doesn’t require that much bandwidth14.
I don’t actually do much streaming myself but I’m using the NAS for storing photographs and videos. Those are normally large files so I want to have fast transfers. For example, transferring a folder with 10GB of photographs at a speed of 85MB/s takes about two minutes. For me that’s an acceptable time to wait. However, if ten users want to copy a similar amount of data at the same time then it will take roughly 20 minutes (which is too long in my opinion). So this NAS is not made for larger numbers of users who frequently want to write to it, e.g. for small companies.
Hardware Overview
I want the NAS to be always available so its power consumption should be as low as possible. Single-board computers (SBCs) like the Raspberry Pi are ideal candidates for such a project. I use a Raspberry Pi 4b because I already had it at home. In the 7th post of this series we’ll talk about how other models of the Raspberry Pi (3b or 5) compare to the 4b15.

I’m also reusing some of the external hard drives I already had at home. They are all from WD, one is a 4TB 3.5″ HDD and three are 2TB 2.5″ HDDs for a total of 10TB. All of them are relatively recent and in a good state. I’ll also be testing a 1TB Samsung SSD. Finally, we’ll be using a (powered) USB Hub to connect some of the HDDs to our Raspberry Pi.
In the 5th post we’ll test the speeds of the HDDs (and of the Samsung SSD) to check how suitable they are to use in a NAS16.
Software Overview
Aside from Raspberry Pi OS (64bit) we’ll be using Samba and Greyhole. With Samba we can create an arbitrary number of network shares. Greyhole is a software that monitors the activity on a Samba share. When a new file is copied to the share Greyhole will copy it from the Samba share to multiple storage drives. The original file on the Samba share is replaced by a symbolic link to one of the copies. We’ll see a bit more of how Greyhole works over the course of this series but I also wrote a dedicated post about it.
What about alternative software? One option would be Amahi, but that doesn’t support the ARM architecture, which is used by the Raspberry Pi17. Another option is openmediavault (OMV). I have occasionally used OMV over the years but I can’t say that I’m very familiar with it now. However, from what I’ve seen Greyhole seems a lot more suitable for managing data redundancy than openmediavault18. Also, as we’ll see, it’s not difficult to set up a simple home NAS directly on Raspberry Pi OS. So unless we really need some specific feature(s) provided by openmediavault, why not set it up directly? We’ll certainly have a much better understanding of what’s going on by setting it up ourselves!
3-2-1 Backup Rule
It is often recommended to use the 3-2-1 backup rule (3 copies of data, 2 different media, 1 at a different location). Compared to that rule, the system we’re building here doesn’t include any off-site storage. So a fire, break-in or some other major event can still lead to total loss of data. For now I’m accepting that risk but in the future we may expand the system to automatically duplicate itself onto a remote server.
Cost Estimate
The table below lists the costs of all components of my final system. During the build I tested different hardware (mostly USB Hubs, USB Sticks and SD Cards) so the cost of developing it was a bit higher. I used the hard drives that I already had at home, other models or brands may result in different read and write speeds.
My system has a storage capacity of 10TB (although that can be expanded quite easily). Writing to the NAS via Ethernet reaches speeds of 80-100MB/s and reading from the NAS reaches about 70-100MB/s (speeds depend on the specific data that’s transferred, see post 5 for more details).
| Component | Price |
|---|---|
| Raspberry Pi 4b 8GB | € 85.00 |
| Raspberry Pi Power Supply | € 10.00 |
| Raspberry Pi Fan | € 15.00 |
| SD-Card | € 15.00 |
| Powered USB Hub | € 30.00 |
| 3.5″ 4TB HDD | € 110.00 |
| 3 x 2.5″ 2TB HDD | € 240.00 |
| Total | € 505.00 |
Post List
I’ve split the posts related to this project into two categories. The main part of this series deals with setting up the NAS:
The second category deals with various interesting and/or useful parts related to the NAS:
So, that’s it for the introduction. Let’s take a little break and then move on to a brief overview of how Greyhole works.
Footnotes:
- A data-safety-minded reader will point out that a NAS, even with data redundancy, is not a complete backup solution. Indeed, it’s not and we’ll briefly talk about that in section 3-2-1 Backup Rule. ↩︎
- I suggest using hard drives that are not too old or already close to failing. The risk of data loss or corruption is not worth it. ↩︎
- Also, with RAIDs we can’t easily add an additional hard drive to increase storage capacity. We’d have to add multiple drives (how many depends on the RAID level used). Depending on the RAID level, expanding the RAID may involve rebuilding the array, which has a non-negligible chance of introducing errors. Alternatively, we could create a new RAID (again with the required number of hard drives corresponding to the RAID level we’ve chosen), which would show up as a new drive (rather than expanding the size of the existing drive).
That’s not what I’m looking for in this NAS. I want a system where we can just add a single hard drive if we run low on space (for example by simply mounting it and adding it to the storage pool).
Also note that with certain kinds of RAID setups (e.g. levels 0 or 10) we can get a speedup when reading and writing data. We’re not going to get that speedup in our setup. That shouldn’t be an issue though because our read and write speeds will be limited by the network connection, not by the storage drives.
Finally, RAID 0, 1 and 10 don’t protect us against data corruption. For that we’d have to use levels 5 or 6, which require at least three or four identical hard drives (note, level 5 is not so good for HDDs). We could even go for nested RAIDs if we want the benefits of e.g. both RAID 6 and RAID 0, but the setup would become a lot more complicated and the hardware requirements would become higher … ↩︎ - To be honest, Btrfs is not that complicated and it could work for this NAS. Btrfs can combine multiple drives into a single logical disk and it can be set up with option
DUPwhich duplicates each file (so there will be two file copies). However, for this NAS I’ll stick to Ext4 because it is a bit simpler to use than Btrfs and even casual Linux users will be familiar with it. Also, combined with Greyhole Ext4 provides a bit more flexibility regarding the number of file copies to be saved. ↩︎ - The NAS can also protect us against the simultaneous failure of more than one hard drive. For example, if you choose to save your data on three separate drives then two of them can fail at the same time. We’ll look at that in (video-)post 8. ↩︎
- We’ll use the filesystem Ext4 which is not able to detect data corruption. However, the software, Greyhole, which we’ll use for redundancy can detect such corruption. It does so by storing checksums of files when they are first copied to the NAS. When we run a Greyhole filesystem check with option
--checksumthen Greyhole calculates new checksums and compares them to the stored ones. If a copy of a file got corrupted then it will be replaced by an intact file (if there is one). See this post for a bit more information. ↩︎ - If you only use Linux systems then you may want to use NFS. I would very much prefer to use it but unfortunately not everybody in my household uses Linux … ↩︎
- For example, if you do a backup of your operating system then hundreds or thousands of configuration files, each having only a few kilobytes, will be saved. Greyhole is not suitable for that kind of data storage because of the overhead it incurs from iterating through all new files saved on a Samba share. For backups we better use a dedicated piece of software, e.g. Borg Backup (There will be a dedicated article for backing up your operating system and other data using Borg Backup, I’ll update this page when the post is ready). ↩︎
- So if, for example, you’re using BitTorrent to download the latest Arch Linux ISO, then first save it on your computer or on a Samba share for which Greyhole is not enabled. When the download has finished move it to a Samba share for which Greyhole is enabled. Do not save it on a Greyhole-enabled share during download. ↩︎
- From what I’ve read online ZFS should work on the Raspberry Pi, even if it has potentially high memory usage. I haven’t tested it myself though. ↩︎
- I’m always amazed by how quickly I forget things that I knew really well a few months back. ↩︎
- Don’t worry, though, there will be lot’s of thorough tests in the other posts of this series 😉 ↩︎
- Without the 4k video memory usage was at most 4%. The Raspberry Pi was connected to the network via Ethernet, the computers via WiFi (with a mix of 5GHz and 2.4GHz).
It’s probably also worth pointing out that my drives were still quite empty when doing this test. So the videos I streamed were saved close to each other on the disk. I think it’s possible that that positively affects access time (although that’s pure speculation!). ↩︎ - Streaming a 4k movie is supposed to require 25Mb/s on average (I haven’t checked that myself). With 1G Ethernet we get approximately 950Mb/s so there’s plenty of bandwidth (as long as no other process uses it up). ↩︎
- There are also SBCs from other manufacturers but I didn’t test any of them. ↩︎
- In that post we’ll test how suitable the drives are to hold Samba shares. The actual data will be stored on the HDDs. ↩︎
- Amahi used to support ARM but as of December 2023 it doesn’t anymore. Note, under the hood Amahi uses Greyhole for storing data. Since I don’t need the additional functions of Amahi there’s really no reason to install it rather than using Greyhole directly. ↩︎
- openmediavault supports Btrfs and (software) RAIDs so there are options for data redundancy. But per our initial requirements we can’t or don’t want to use those. ↩︎
Leave a Reply